
Elevate Your Home’s Style with LVP Flooring: A Comprehensive Guide
Understanding LVP Flooring and Its Benefits
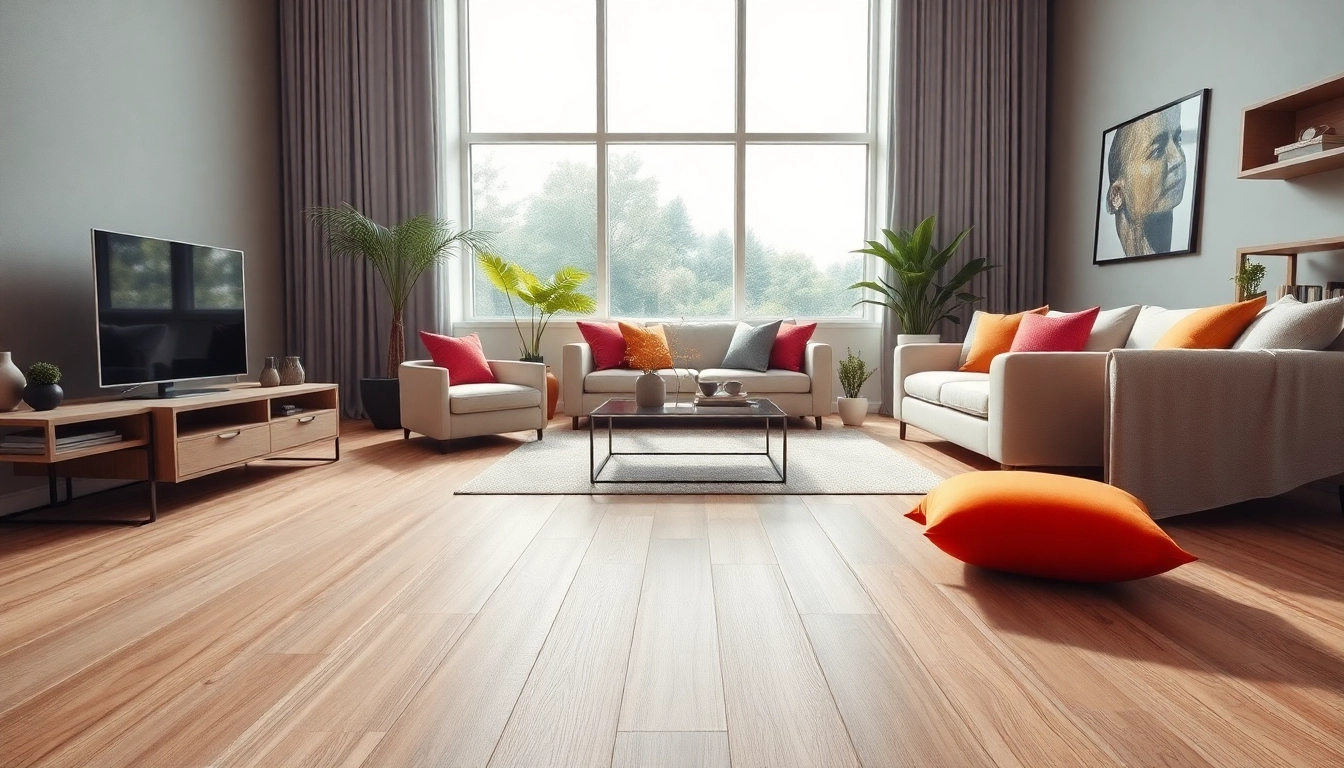
What Is LVP Flooring?
Luxury Vinyl Plank (LVP) flooring is a synthetic flooring solution designed to mimic the appearance of natural materials like hardwood or stone. It comprises multiple layers that create a resilient, durable surface suitable for various residential and commercial spaces. Its construction usually includes a waterproof core, a high-resolution image layer for aesthetics, and a protective wear layer to enhance durability. Notably, LVP flooring closely resembles the look of traditional materials while providing greater resistance to common household issues such as water damage and scratches.
Advantages of Choosing LVP Flooring
There are numerous advantages to selecting lvp flooring for your space:
- Durability: LVP is constructed to withstand high foot traffic and is resistant to scratches, dents, and stains, making it an ideal choice for busy households.
- Waterproof: Many LVP options are waterproof, which makes them suitable for moisture-prone areas like kitchens and bathrooms.
- Variety of Designs: Available in a wide range of styles, colors, and textures, LVP can complement any decor aesthetic while providing the charm of natural materials.
- Easy Installation: LVP can be installed using various methods, including floating, glue-down, or click-lock, catering to DIY enthusiasts and professional installers alike.
- Low Maintenance: Regular sweeping and occasional mopping are often sufficient to keep LVP flooring looking its best.
Comparing LVP Flooring with Other Options
When considering flooring choices, comparing LVP to alternatives such as hardwood, tile, and laminate can help clarify its unique benefits:
- Hardwood: While hardwood offers timeless beauty, it is more susceptible to water damage and requires more maintenance than LVP.
- Tile: Ceramic or porcelain tile is durable and waterproof but can be cold and uncomfortable underfoot, unlike the warmer feel of LVP.
- Laminate: Laminate flooring provides a similar aesthetic to LVP, but it generally lacks the waterproof properties and may not be as durable.
Choosing the Right LVP Flooring for Your Space
Factors to Consider Before Purchasing
Before selecting LVP flooring, consider the following factors:
- Room Function: High-traffic or moisture-prone areas might require thicker planks and a robust wear layer to ensure longevity.
- Foot Traffic: For areas with high foot traffic, select LVP with enhanced durability features tailored to resist wear and tear.
- Subfloor Type: The existing subfloor may influence your choice. Ensure compatibility for the installation method chosen.
The Importance of Thickness and Wear Layer
The thickness of the LVP board generally ranges from 4mm to 8mm, affecting both comfort and durability. The wear layer, usually measured in millimeters, is critical; thicker wear layers offer better protection against scratches and dents. A minimum wear layer of 20 mil is recommended for residential areas, while commercial spaces may benefit from 30 mil or more.
Choosing Styles and Colors That Fit Your Aesthetic
When selecting styles and colors for your LVP flooring, consider the overall design theme and personal preferences:
- Natural Looks: Opt for planks that mimic the grain and texture of real wood or stone for a timeless appearance.
- Color Scheme: Consider your existing furniture and wall colors to ensure a complementary design.
- Finish: Choose between matte, semi-gloss, and high-gloss finishes depending on the desired look and maintenance level.
Installation Process for LVP Flooring
DIY vs. Professional Installation
When it comes to installing LVP flooring, many homeowners face the dilemma of whether to attempt a DIY installation or hire professionals. DIY installation can save money and allow for a personal touch; however, it requires careful planning and skill execution. Hiring a professional ensures that the installation is done correctly and efficiently, potentially saving time and preventing future complications.
Essential Tools for a Successful Installation
Should you choose to install your LVP flooring yourself, here are essential tools you will need:
- Measuring tape
- Utility knife
- Straight edge or square
- Rubber mallet
- Pull bar and tapping block
- Adhesive (if glue-down method is chosen)
- Flooring underlayment
Step-by-Step Installation Guide
Follow these steps for a successful LVP flooring installation:
- Prepare the Subfloor: Ensure the subfloor is clean, dry, and level. Any imperfections can lead to issues later on.
- Acclimate the Flooring: Allow the LVP planks to acclimate to the room temperature and humidity for at least 48 hours.
- Install Underlayment: If required, lay down an underlayment for added cushioning and insulation.
- Start Laying Planks: Begin in one corner, staggering the seams of the planks to create a more natural appearance. Use a tapping block and pull bar for a snug fit.
- Cut Planks as Needed: Use a utility knife to cut planks to fit around obstacles and edges.
- Finish the Edges: Use baseboards or quarter rounds to cover expansion gaps around the perimeter.
- Clean Up: Once installed, thoroughly clean the flooring to remove dust and debris.
Maintaining Your LVP Flooring
Daily Care Tips for Longevity
To prolong the life of your LVP flooring, adopt a few daily care practices, such as:
- Regular sweeping or vacuuming to remove dirt and debris.
- Using furniture pads to prevent scratches from moving furniture.
- Keeping pet nails trimmed to minimize potential scratches.
Common Cleaning Methods Explained
Cleaning LVP flooring is simple and effective. Here are some common methods:
- Dry Cleaning: Sweep or vacuum regularly to keep dirt and grit at bay.
- Damp Cleaning: Use a mop with a mild cleaner designed for vinyl floors; avoid excessive water in saturation.
- Spot Cleaning: For stubborn stains, use a soft cloth with a manufacturer-recommended cleaner.
Repairing and Replacing Damaged Sections
In the event of scratches or dents, LVP flooring can often be repaired without needing to replace entire planks:
- Buffing Out Scratches: A simple buffing with a soft cloth and recommended cleaner can often remove light scratches.
- Replacing Individual Planks: Gently lift the damaged plank and replace it with a new one for a seamless finish.
FAQs About LVP Flooring
Is LVP Flooring waterproof?
Yes, most LVP flooring options are waterproof, making them ideal for kitchens and bathrooms.
How long does LVP flooring last?
With proper care, LVP flooring can last between 10 to 25 years, depending on quality.
Can LVP flooring be installed over existing floors?
Yes, LVP can often be installed over existing flooring without the need for removal.
Is LVP flooring eco-friendly?
Many LVP products are made from recyclable materials, contributing to environmentally-friendly choices.
How do I remove scratches from LVP flooring?
Minor scratches can often be buffed out with a soft cloth and a manufacturer-recommended cleaner.